
Roblox game development can be achieved by linking Roblox and Cursor AI (Visual Studio Code is also OK) using tools called Rojo and Roblox LSP , which allows you to write and manage code outside of Roblox Studio, greatly improving development efficiency.
Below is a step-by-step guide.
Integrating Roblox with Cursor/Visual Studio Code
Prerequisites
- You must already have Roblox Studio and Cursor (or VSCode) installed. If not, please install them first.
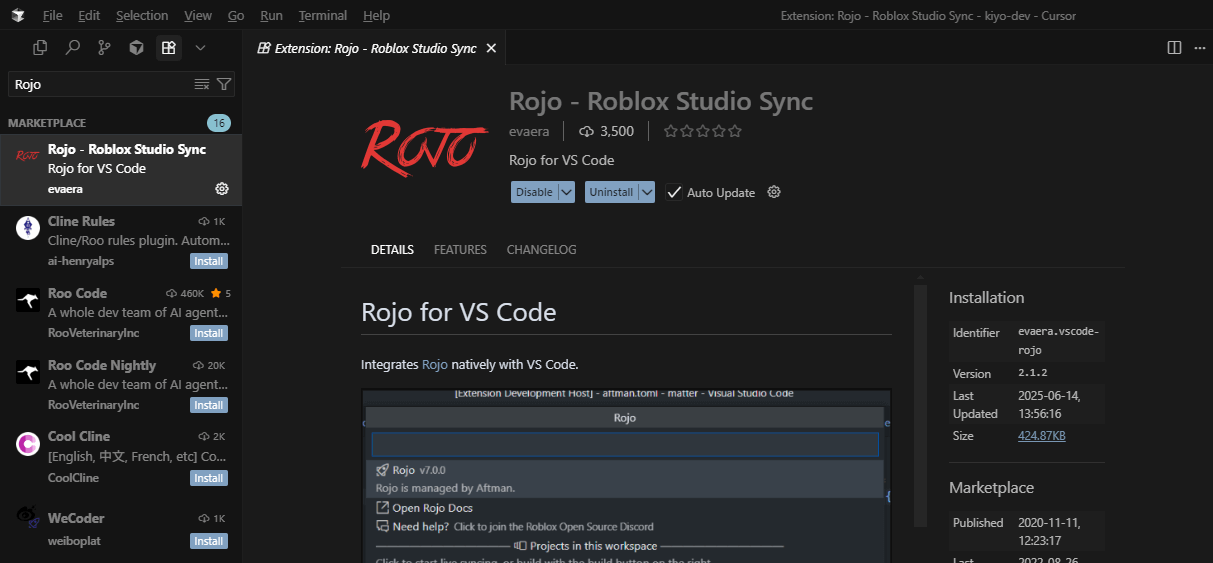
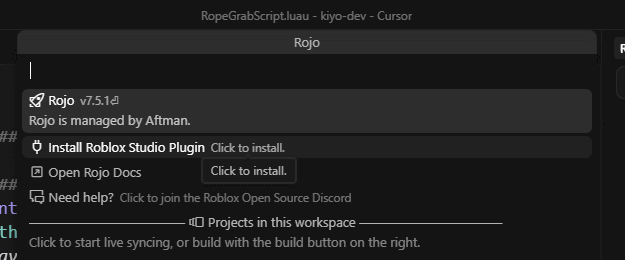
Step 1: Install the Rojo extension in Cursor (or VSCode)
- Open Cursor.
- Click on the Extensions icon on the left side. (Icon that looks like four squares with one separated) The Extensions Marketplace will open.
- Search for "Rojo" in the search bar.
- Look for the Rojo extension created by "evaera" and click on it.
- Click the "Install" button. Rojo will be installed in Cursor.
Step 2: Create a Project Folder and Initialize Rojo
- Open the folder in Cursor (or VSCode).
- From the File menu, select Open Folder.
- Create a new folder to store your project.
- Open the Cursor command palette.
- Click "View" in the top left corner of the screen and select "Command Palette."
- You can also use shortcut keys Ctrl + Shift + P(Windows) or (Mac).Cmd + Shift + P
- In the command palette, type "Rojo open menu" and select it.
- In the menu that opens, click "Install Rojo Now."
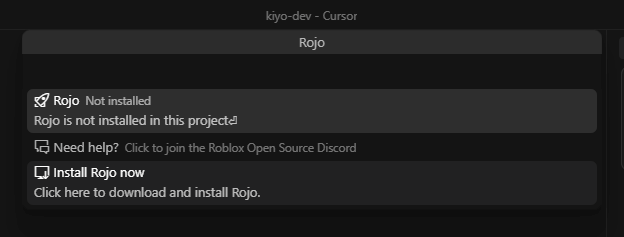 Rojo and the tools that Rojo uses to install other tools
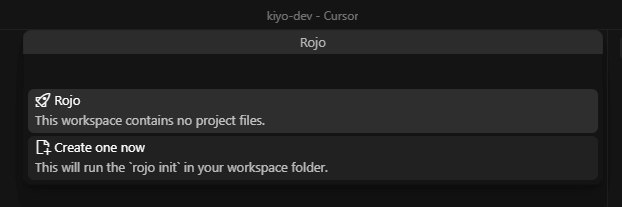
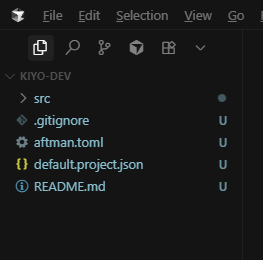
 aftmanwill be downloaded to this specific folder.aftman.tomlFileswill also be created in your project. You should see a popup that says "successfully installed rojo with - Select "Rojo open menu" from the command palette again.
- When the drop-down menu appears, click "create one now."
A default Rojo project will be set up and
SRCseveral files will be created, including a folder called
Step 3: Install the Rojo plugin in Roblox Studio
- From Curspr's Rojo menu (accessible via the command palette or the Rojo icon), click "Install Roblox Studio plugin."
You will see a notification that says "Roblox Studio plug-in has been installed."
- Open Roblox Studio. If Roblox Studio is already open when you install the Rojo plugin, restart Studio for the plugin to be recognized.
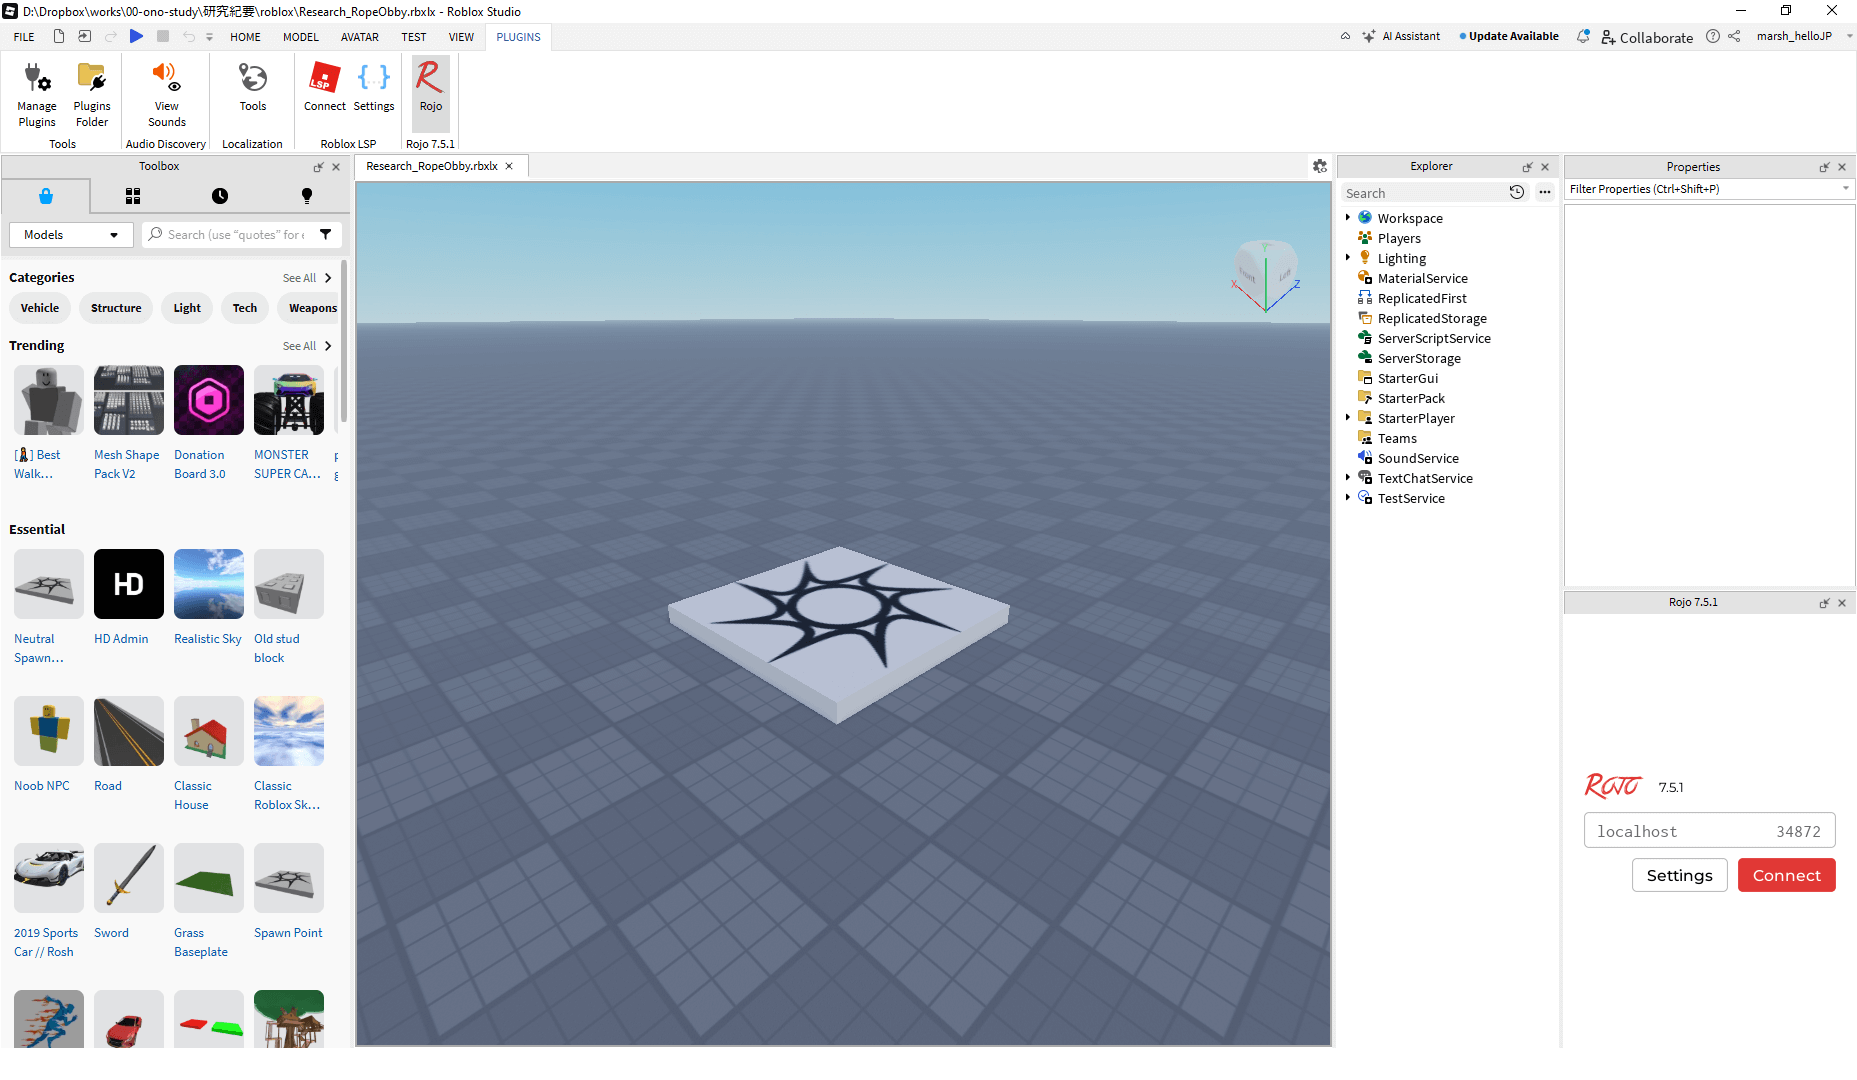
- Select the new "Baseplate" template in Roblox Studio.
- Go to the Plugins tab.
- Make sure the Rojo logo is displayed.
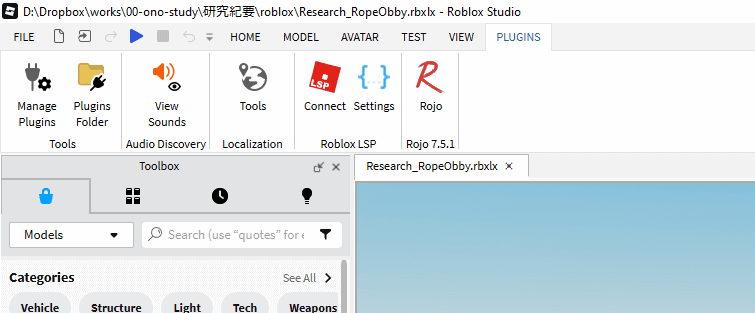 If you don't see the Rojo plug-in, try restarting Studio.
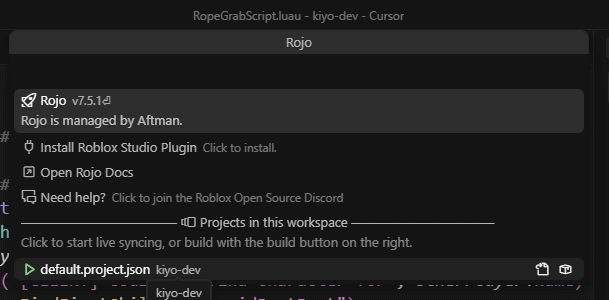
Step 4: Sync Cursor (or VSCode) with Roblox Studio
- Start the Rojo server in Cursor.
- Select "Rojo open menu" from the command palette and select "default.project.json".
- Alternatively, you can click the Rojo icon in the bottom right corner of the Cursor and start from there.
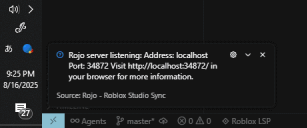
- You should see a message saying "Rojo server listening" and the address Rojo is listening on.
- Open Roblox Studio and click the Rojo plugin.
- Click "Connect" in the Rojo plugin window.
 You'll be given the option to confirm that you want to sync VS Code with Roblox Studio. Red lines indicate what will be removed, and green lines indicate what will be added.
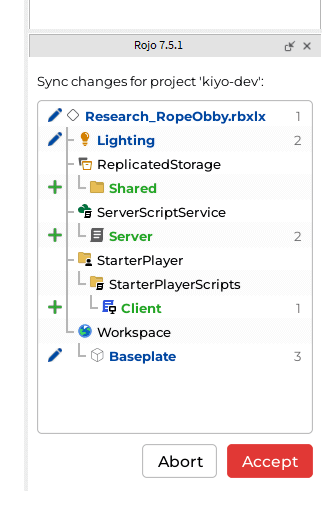
- Click "Accept". You should see the message "connected to the session." Cursor and Roblox Studio are now synced.
Step 5: Creating the project structure and scripts
At the core of the Rojo project default.project.jsonis a file that mirrors Roblox Studio's Explorer-like structure and defines how folders in Cursor link to services in Roblox Studio.
default.project.json Structure
name: The name of the project (the string displayed in the Rojo plugin).tree: Defines the main structure of your project, which corresponds to the data model (Explorer) in Roblox Studio.- For example, includes
ReplicatedStorage,ServerScriptService,StarterPlayer, etc. - Within each service, a
pathproperty is set to a folder within the Cursor project (e.g.,Source/sharedsyncs to asharedfolder within Roblox Studio'sReplicatedStorage). init.luaBe careful with files named as they change the behavior of the parent directory, and it's usuallyhello.server.luabest to rename them to something more specific like .
- For example, includes
Script Naming Conventions
- Module scripts: End file names with
.luaor.luau(e.g.,hello.lua,hello2.luau). - Server scripts: End file names with
.server.luaor.server.luau(e.g.,hello.server.lua,hello2.server.luau). - Local scripts: End file names with
.client.luaor.client.luau(e.g.,hello.client.lua,hello2.client.luau).
Project Structure Customization
- For example, if you want to delete the folder
ReplicatedStoragein and place the module script directly in , delete the object in and set it to direct .shared hello ReplicatedStorage default.project.json shared path src/shared ServerStorageIf you want to add a new service (for example, ),treeadd a new entry in the object andpathspecify it.
Step 6: Install and Configure Roblox LSP
Roblox LSP (Language Server Protocol)is a tool that relays project information from Roblox Studio to Cursor for auto-completion and script suggestions. While Rojo and Roblox LSP are different tools, using them together improves your development experience.
- Install Roblox LSP extension in Cursor (or VSCode):
- Go to the Extensions tab in VSCode .
- Search for "Roblox LSP".
- Look for extensions created by "Nighttrains" and install them.

- After installation, you may be asked to allow network permissions. Accept them to apply the settings.
- You may need to restart Cursor. Closing VSCode will disconnect from Rojo, so after restarting, restart the Rojo project and reconnect with Roblox Studio.
- Install Roblox LSP plugin in Roblox Studio:
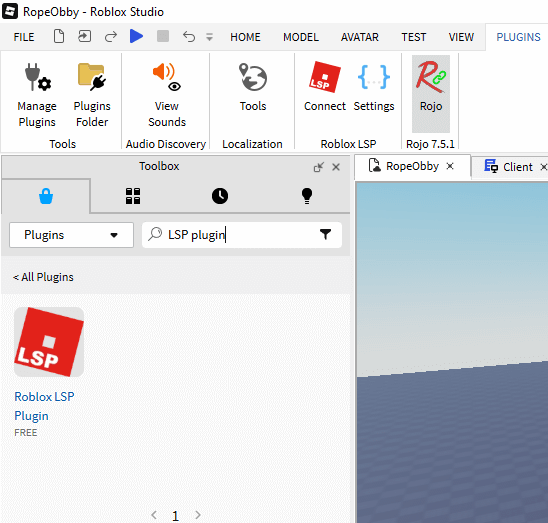
- Search for "LSP plugin" in Roblox Studio's Toolbox.
- Find and install the plugin created by "Night trains".
- You may need to restart Roblox Studio after installing the plugin.
- Find Roblox LSP in the Plugins tab and click the "Connect" button.
- If the notification "Roblox LSP connected to Roblox Studio plugin" appears on the cursor, the connection is successful.
Advantages of Roblox LSP
- Auto-completion will work in VSCode even for instances like Parts added to Roblox Studio's workspace.
- Automatically imports undefined services and functions, and provides auto-completion for functions and services.
Step 7: Prevent Rojo from deleting your instance
Rojo will delete any instances in Roblox Studio that are not defined in your Cursor project file during sync. To prevent this, set "$ignoreUnknownInstances": true in default.project.json.
- In project.json, set "$ignoreUnknownInstances": true for folders containing instances you don't want deleted in Roblox Studio
"ReplicatedStorage": {
"$ignoreUnknownInstances": true,
"Shared": {
"$path": "src/shared"
 }
 }
This setting tells Rojo to ignore and not overwrite any instances in that folder that Rojo doesn't know about.
Restart your Rojo server and reconnect with Roblox Studio for the changes to take effect.In this way, you can connect Roblox and Cursor to create an AI-powered Roblox game development environment.